The cutest little girl’s dress
This is probably the cutest thing I ever made.
This little girl's dress has a frill collar, open back, long semi-puffy sleeves, and a full circle skirt. And the best part: My daughter absolutely loves it.
This dress is probably the cutest thing I sewed so far…
My daughter Claire is 3 years old, and she absolutely loves dresses.
Like any 3 year old, she’s very decisive about what she likes and what she doesn’t - particularly when it comes to clothes.
Luckily she loves it when I make her clothes, especially when she’s the one deciding the fabric. It’s one of my favorite activities, going to our local fabric store (Selfmade) and picking out fabric together. She's super opinionated, which is both a lot of fun and a little tiring sometimes. But hey, she knows what she likes, and that’s a good thing.
The fabric
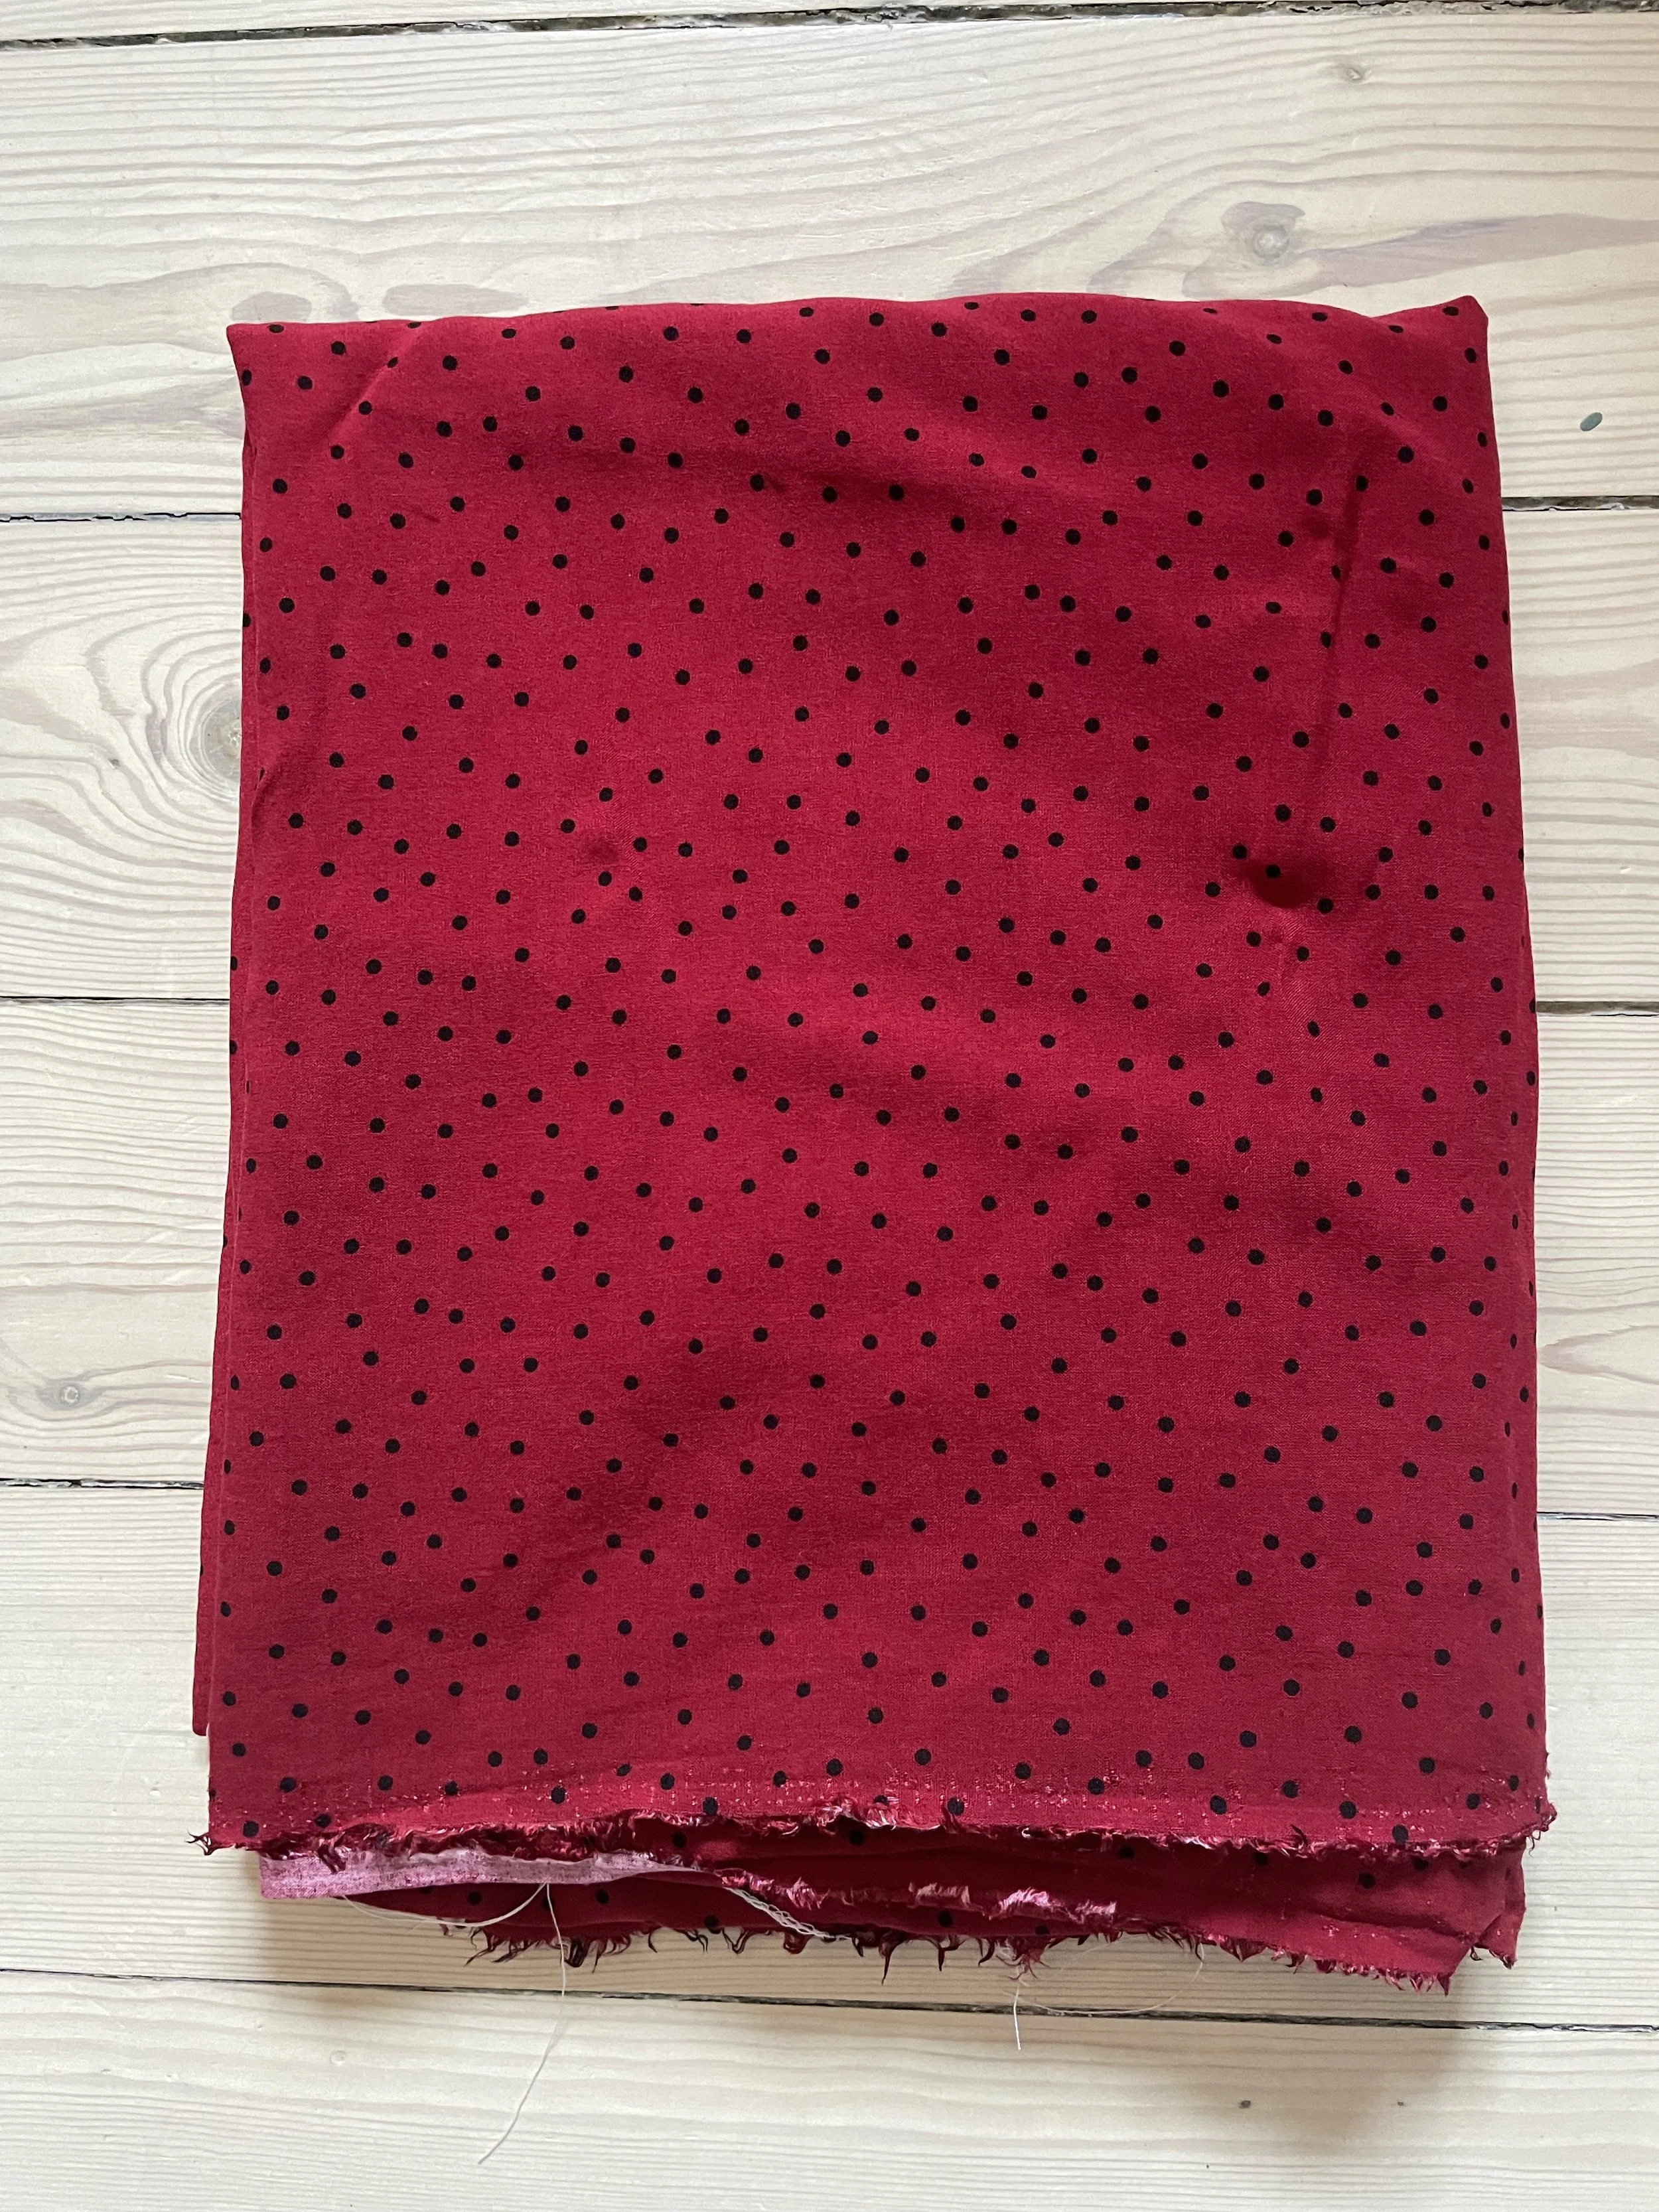
As soon as Claire saw this fabric, she asked me to make her a dress.
And not just any dress. A Cirkeline dress.
Cirkeline is a Danish cartoon character from the 1970’s, and my daughter loves her.
Cirkeline - the cute cartoon character, that my daughter loves (Cirkeline is a fairy who lives on the cartoonist’s desk and helps her organize her pens and papers).
Claire found this fabric, and immediately asked me to make her a Cirkeline dress.
I couldn't say no - the fabric is perfect to replicate the dress.
The fabric is Ecovero viscose, which is a light and flowy fabric, that’s very suitable for dresses.
The design
I’ve been wanting to sew a dress for Claire with a full circle skirt for a while, and when I felt the softness of this viscose, I decided to head in that direction with the dress.
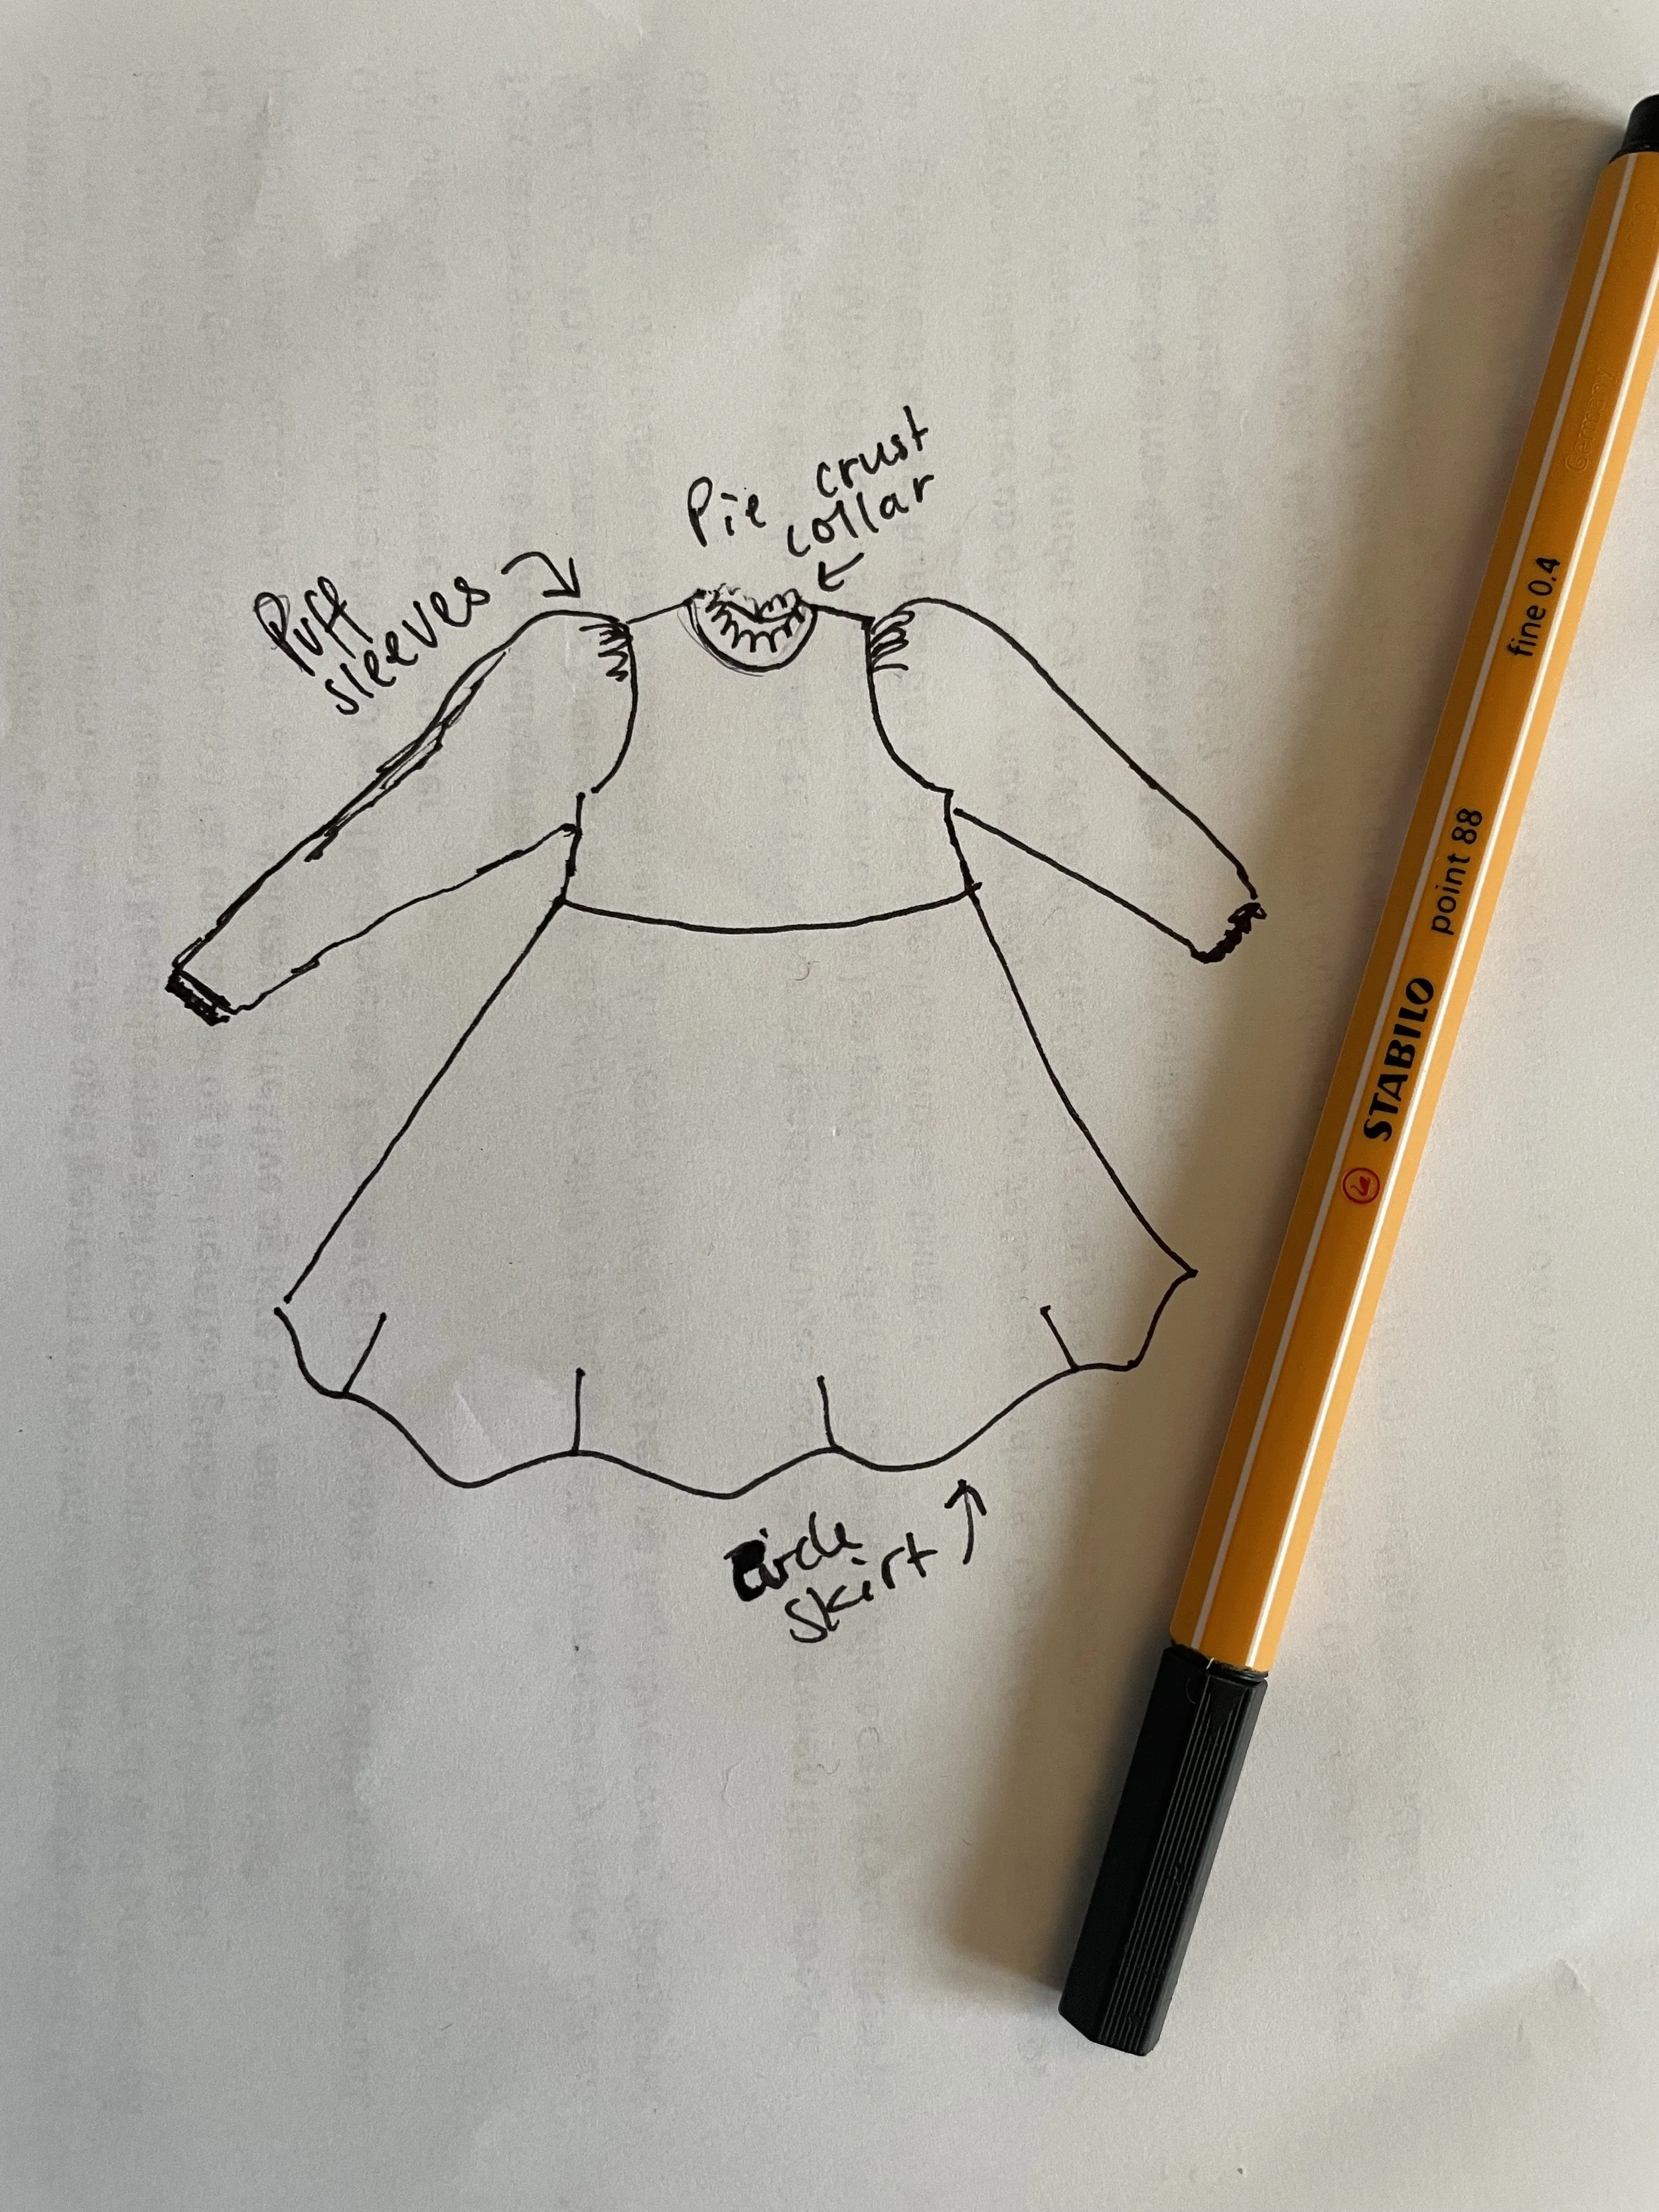
I quickly sketched a design for the dress, that I thought would look cute and that my daughter would love.
I wanted the dress to have a frill collar/pie crust collar, puff sleeves, and a circle skirt.
I didn’t have a zipper available, so I decided to leave the back open and just add a hook and eye at the end of the collar.
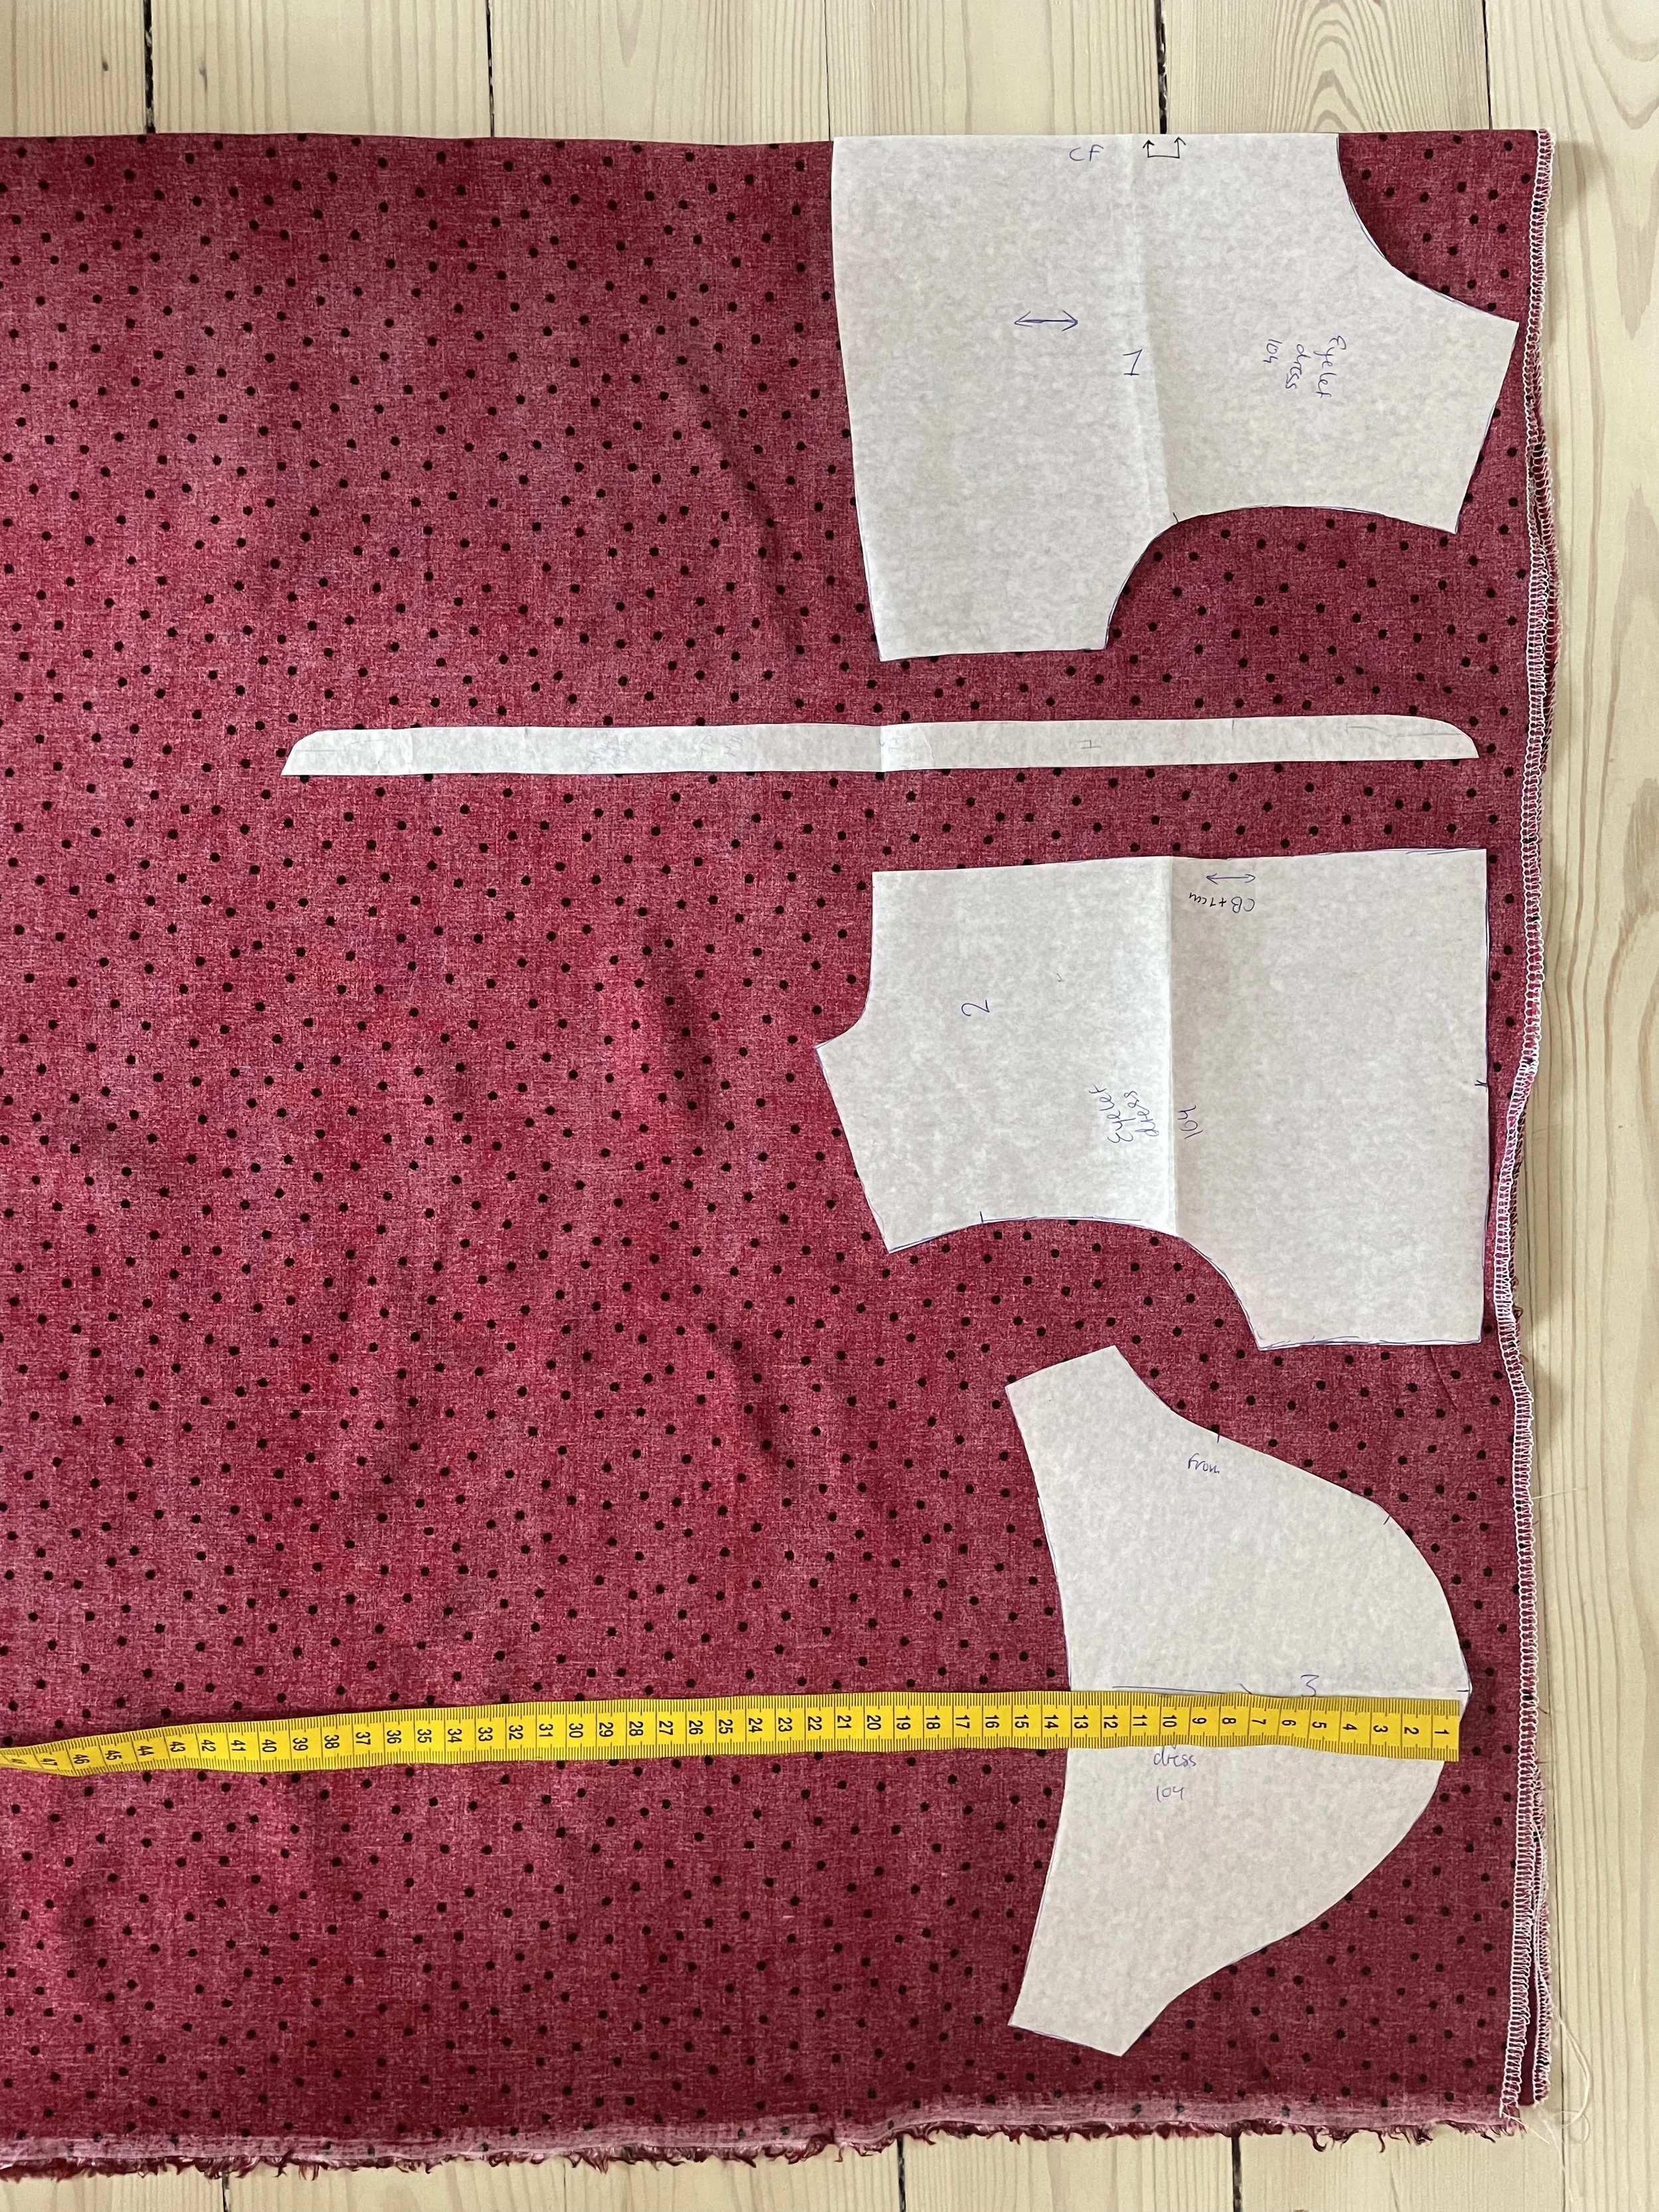
I used the bodice and sleeve pattern pieces from this Ottobre Magazine dress.
I lengthened the sleeves, as I wanted them to sit at the wrist, and then I doubled the collar stand piece from the same pattern to enclose the frill I made by cutting a long rectangle 1.5 x the length of the neck.
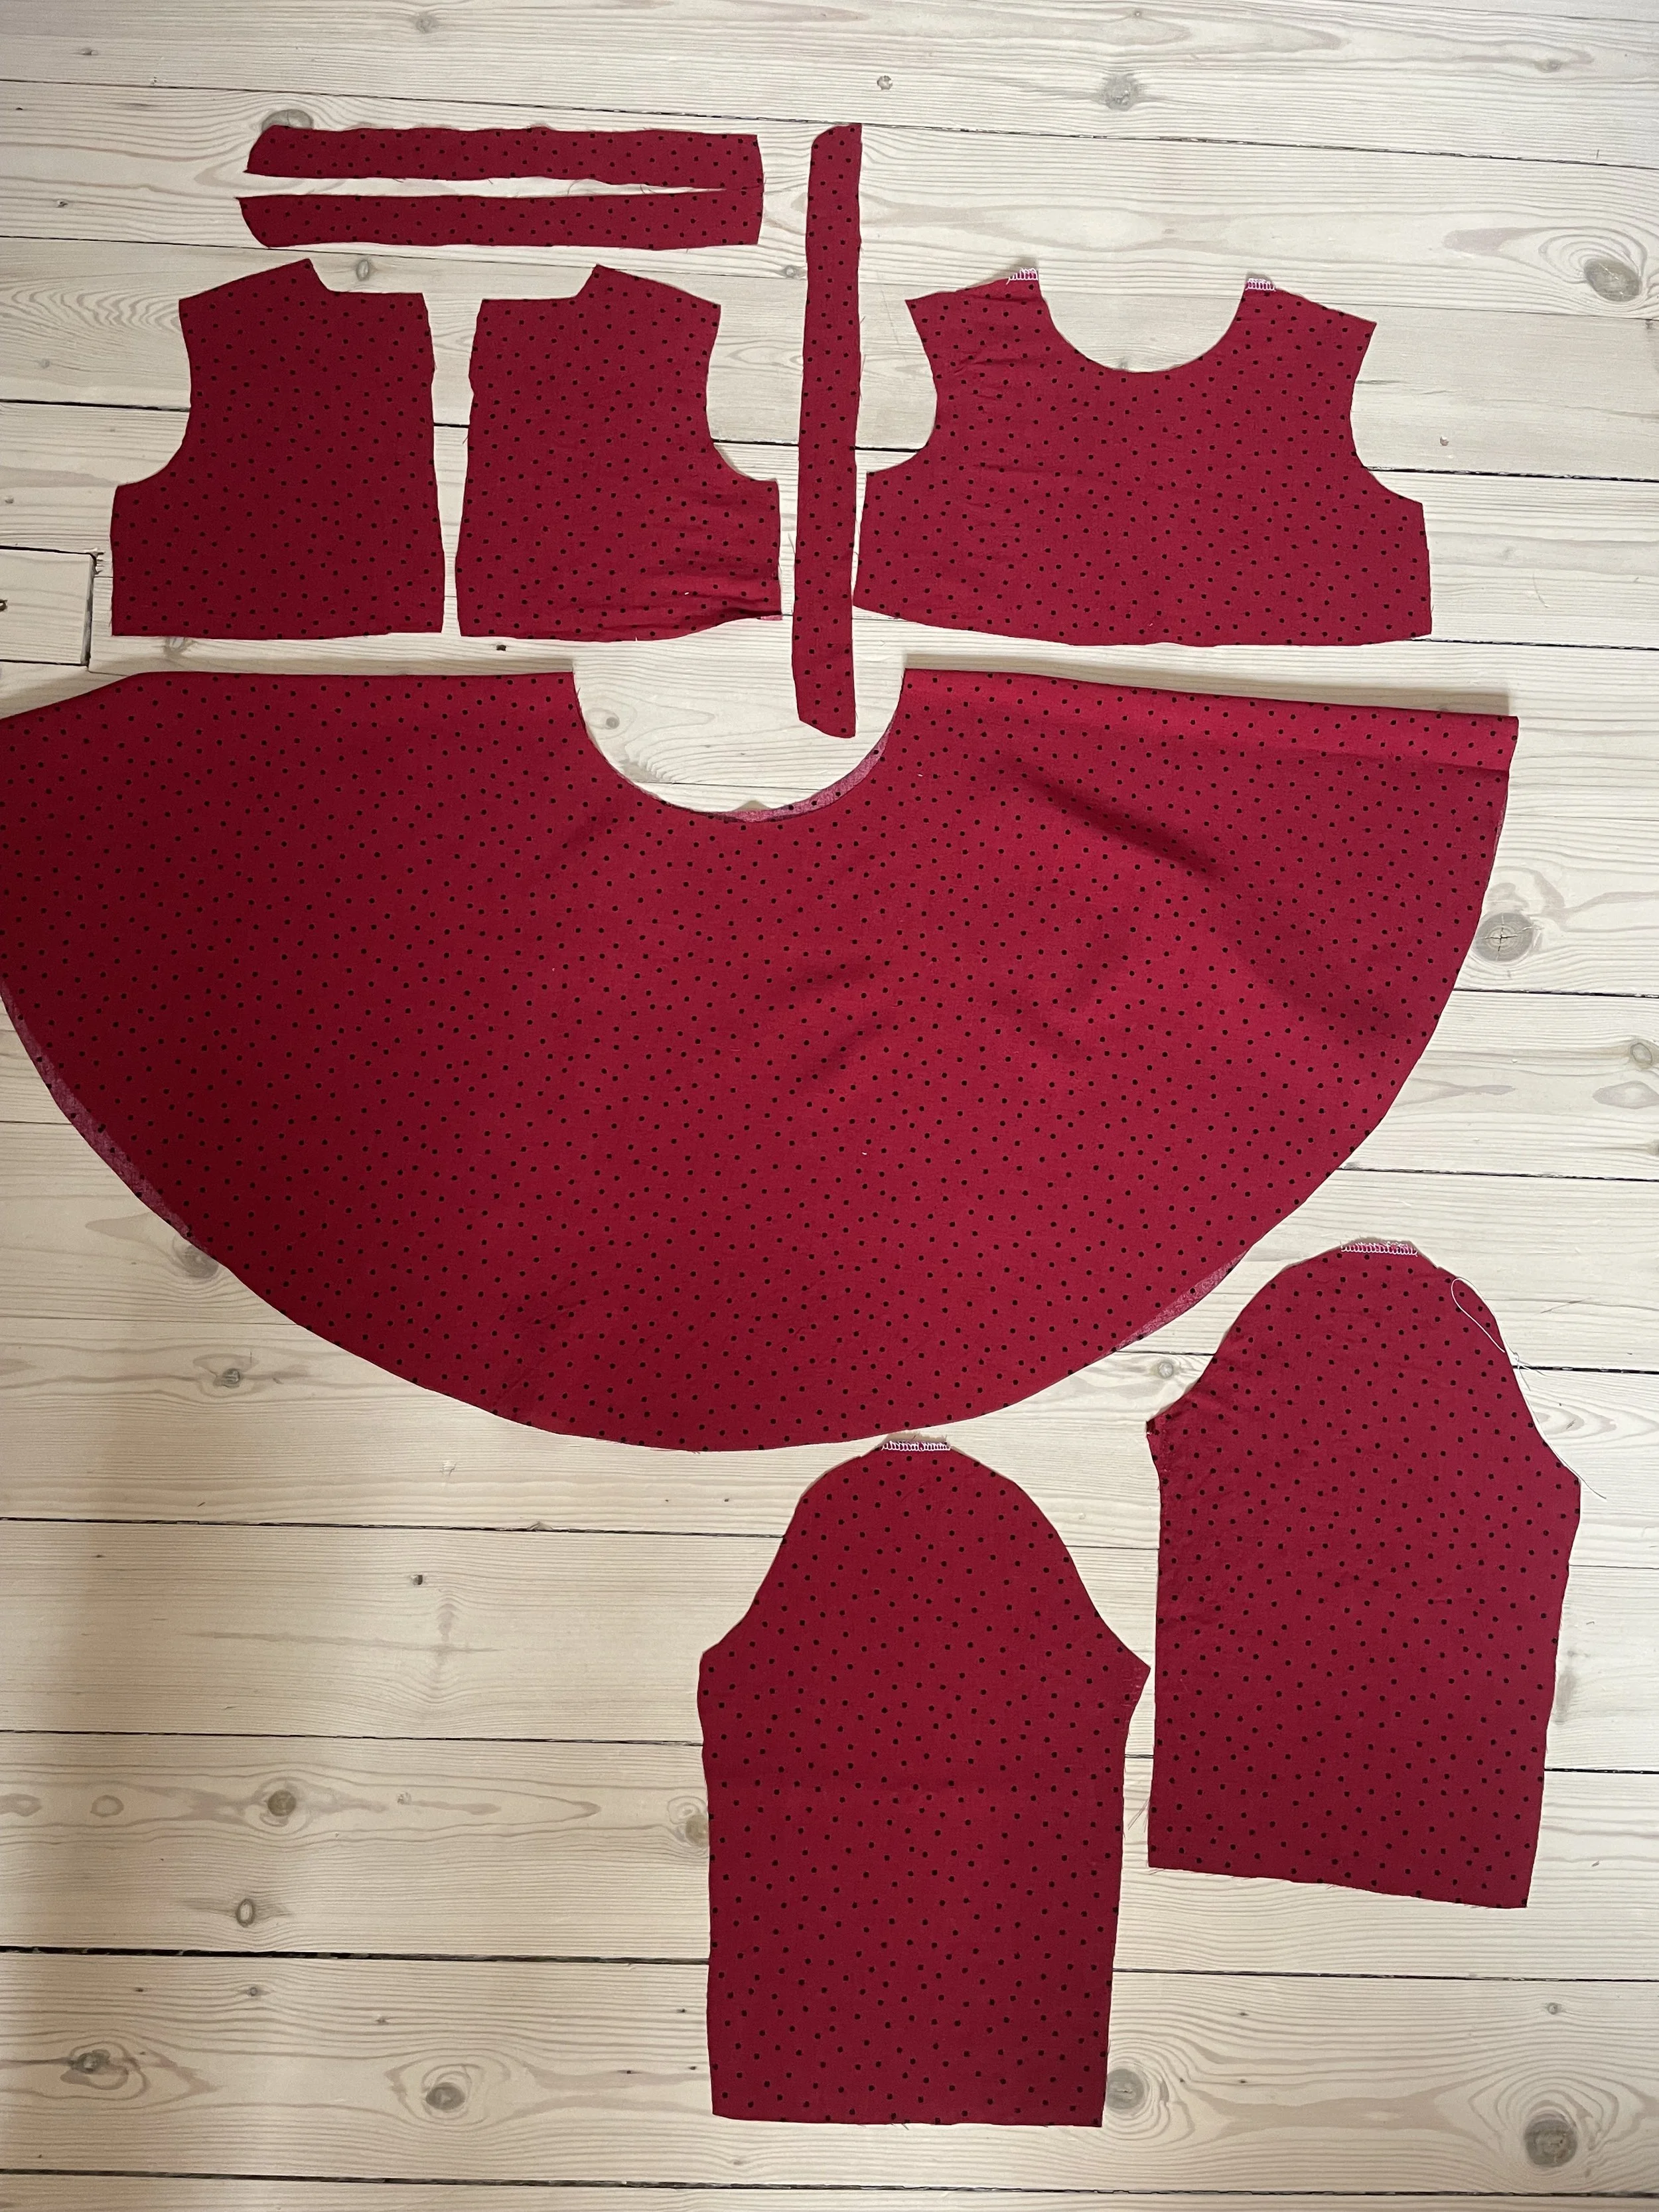
All the pattern pieces, except the frill and circle skirt
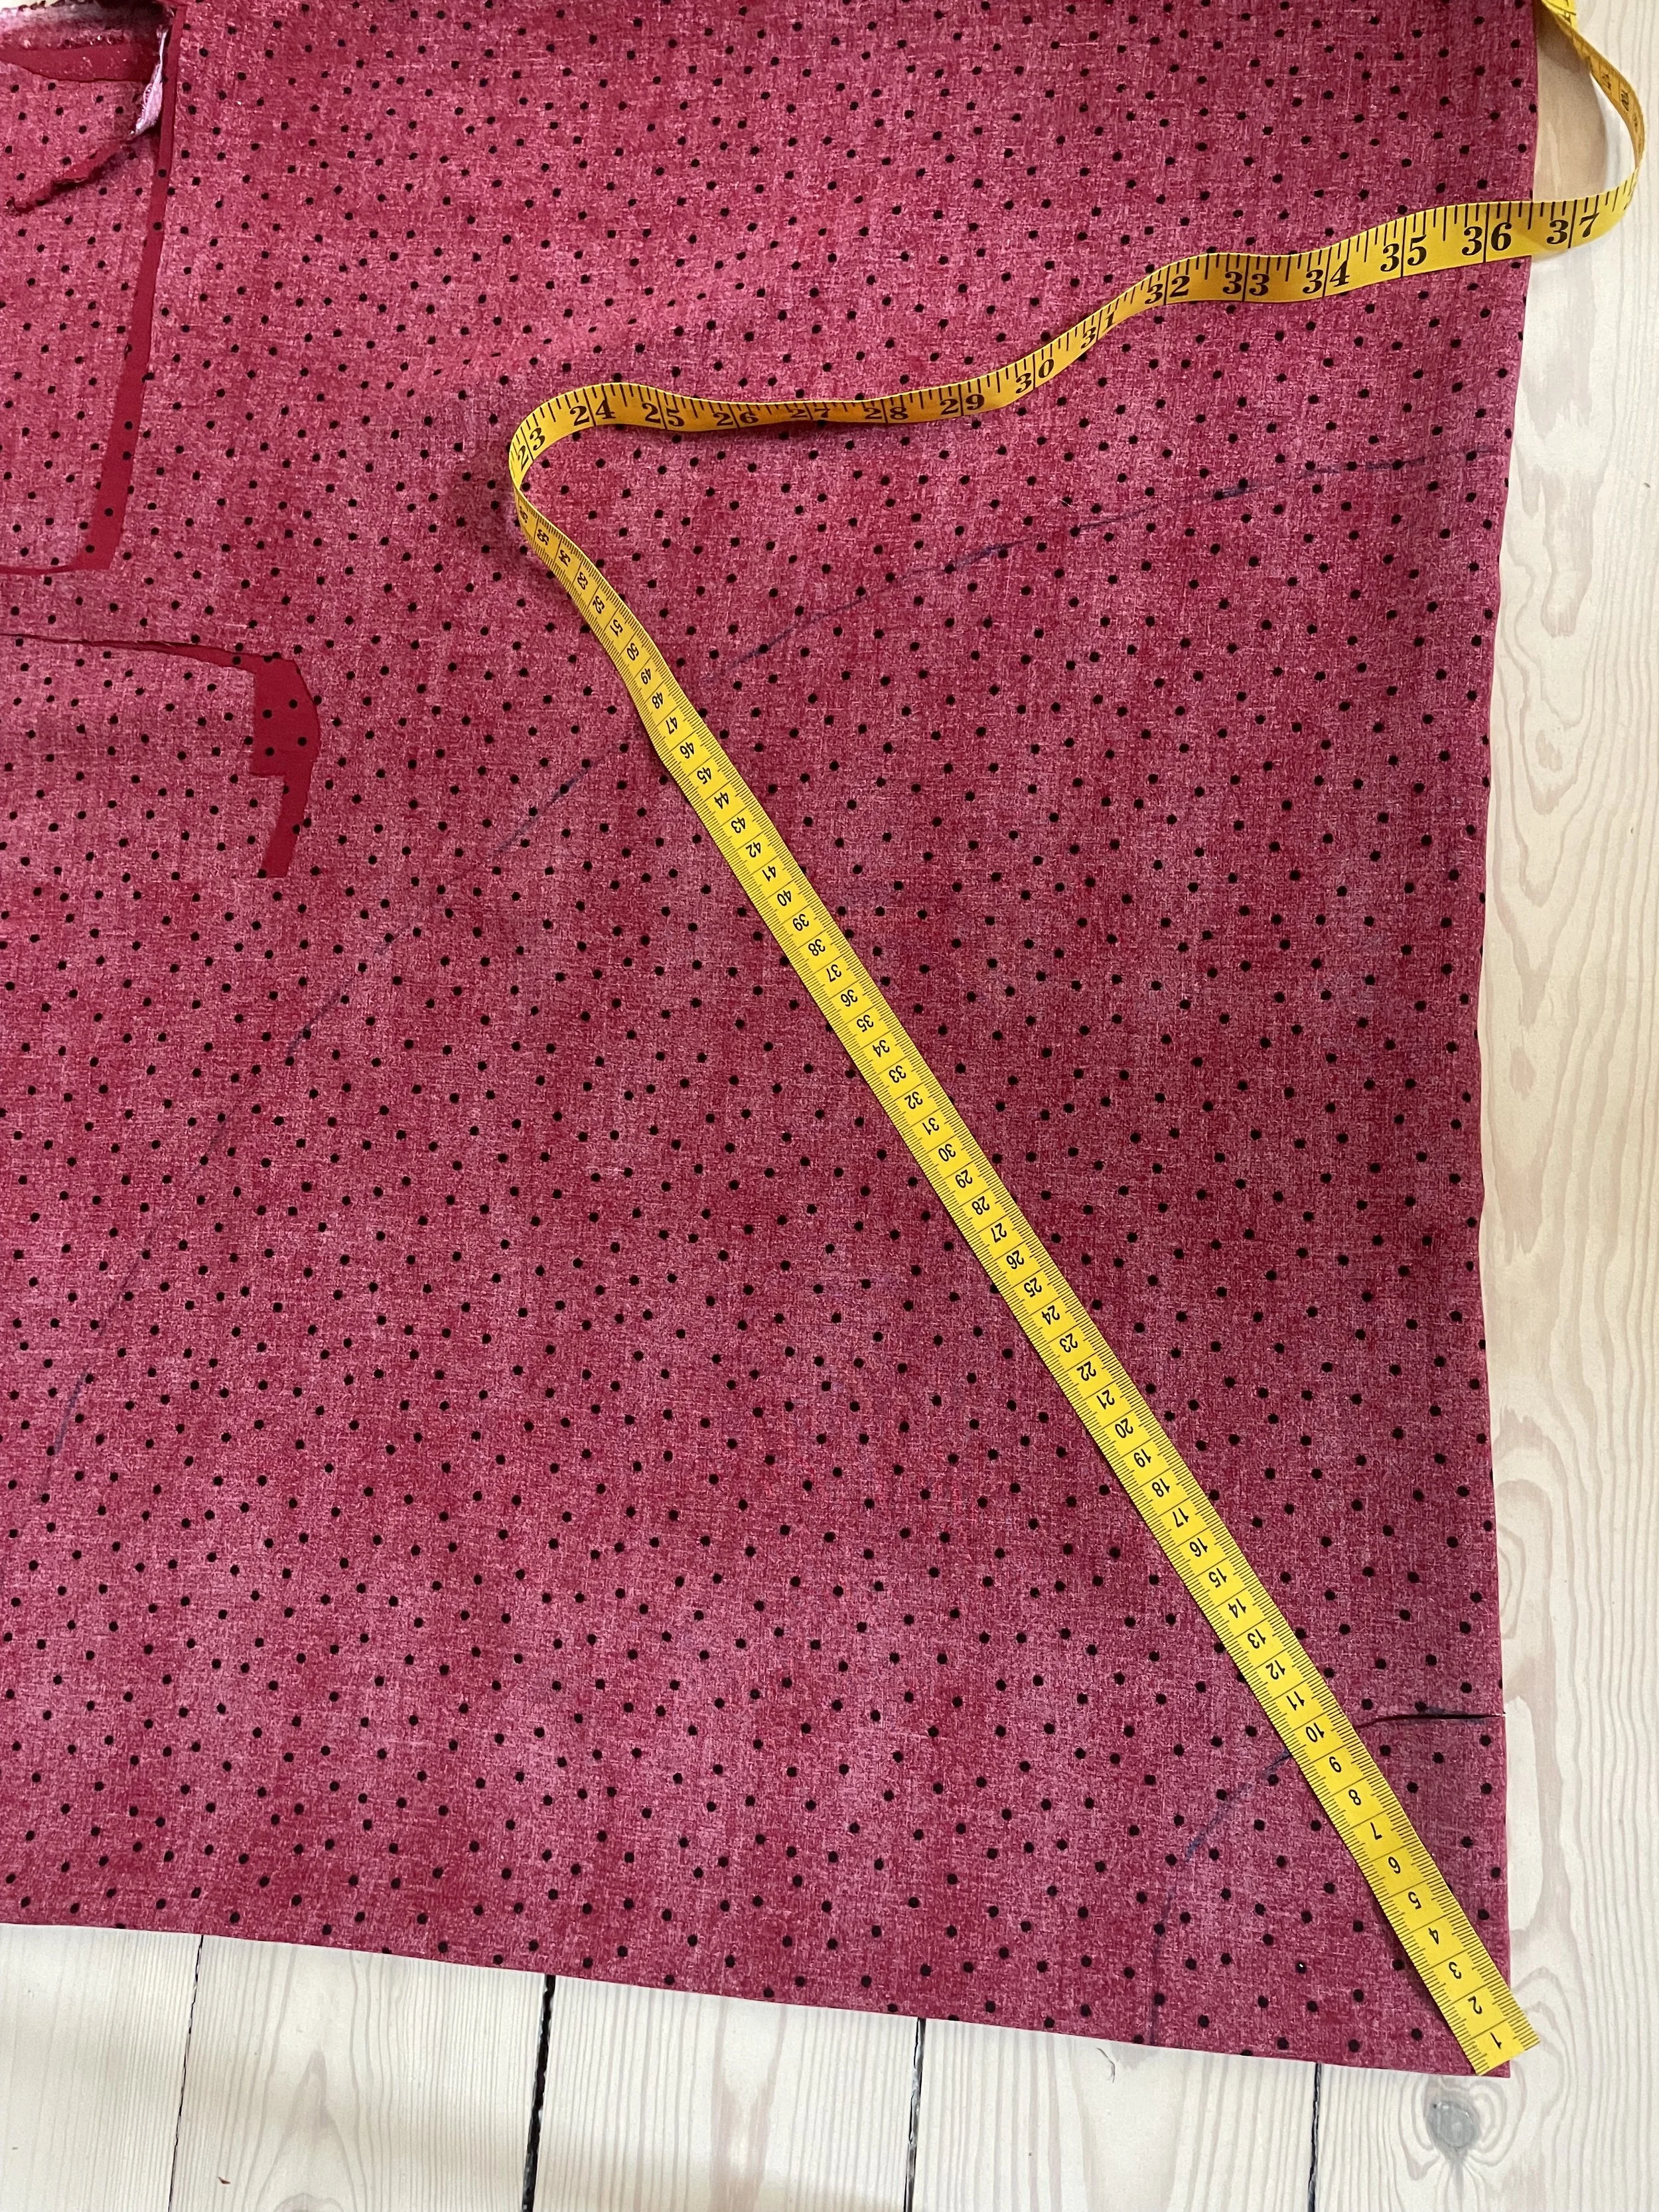
To make the circle skirt, I measured the total circumference of the bodice (front + back pieces + seam allowance). I then put this number into a circle skirt calculator, to get the radius required. If you want to know more about how this is done, read my tutorial on how to sew a circle skirt here.
I folded the fabric and measured the radius and length to cut the correctly sized circle skirt for the dress.
After cutting all the pattern pieces, this is what I had:
Let’s move to the sewing machine!
Sewing the dress
I started by sewing together the front and back pieces at the shoulder seams.
Then I gathered my frill to the length of the collar stand pieces. With right sides together, I basted the frill to one of the the collar stand pieces. Then, sandwiching the frill, I placed the two collar stand pieces right sides together and sewed all around the top edge. I then turned it right side out and gave it a good press.
On the inner collar stand piece, I pressed the raw edge up 1 cm, before I pinned it to the inside of the bodice. Stitching in the ditch, I sewed the inner collar stand piece in place.
The frill collar turned out way better than expected!
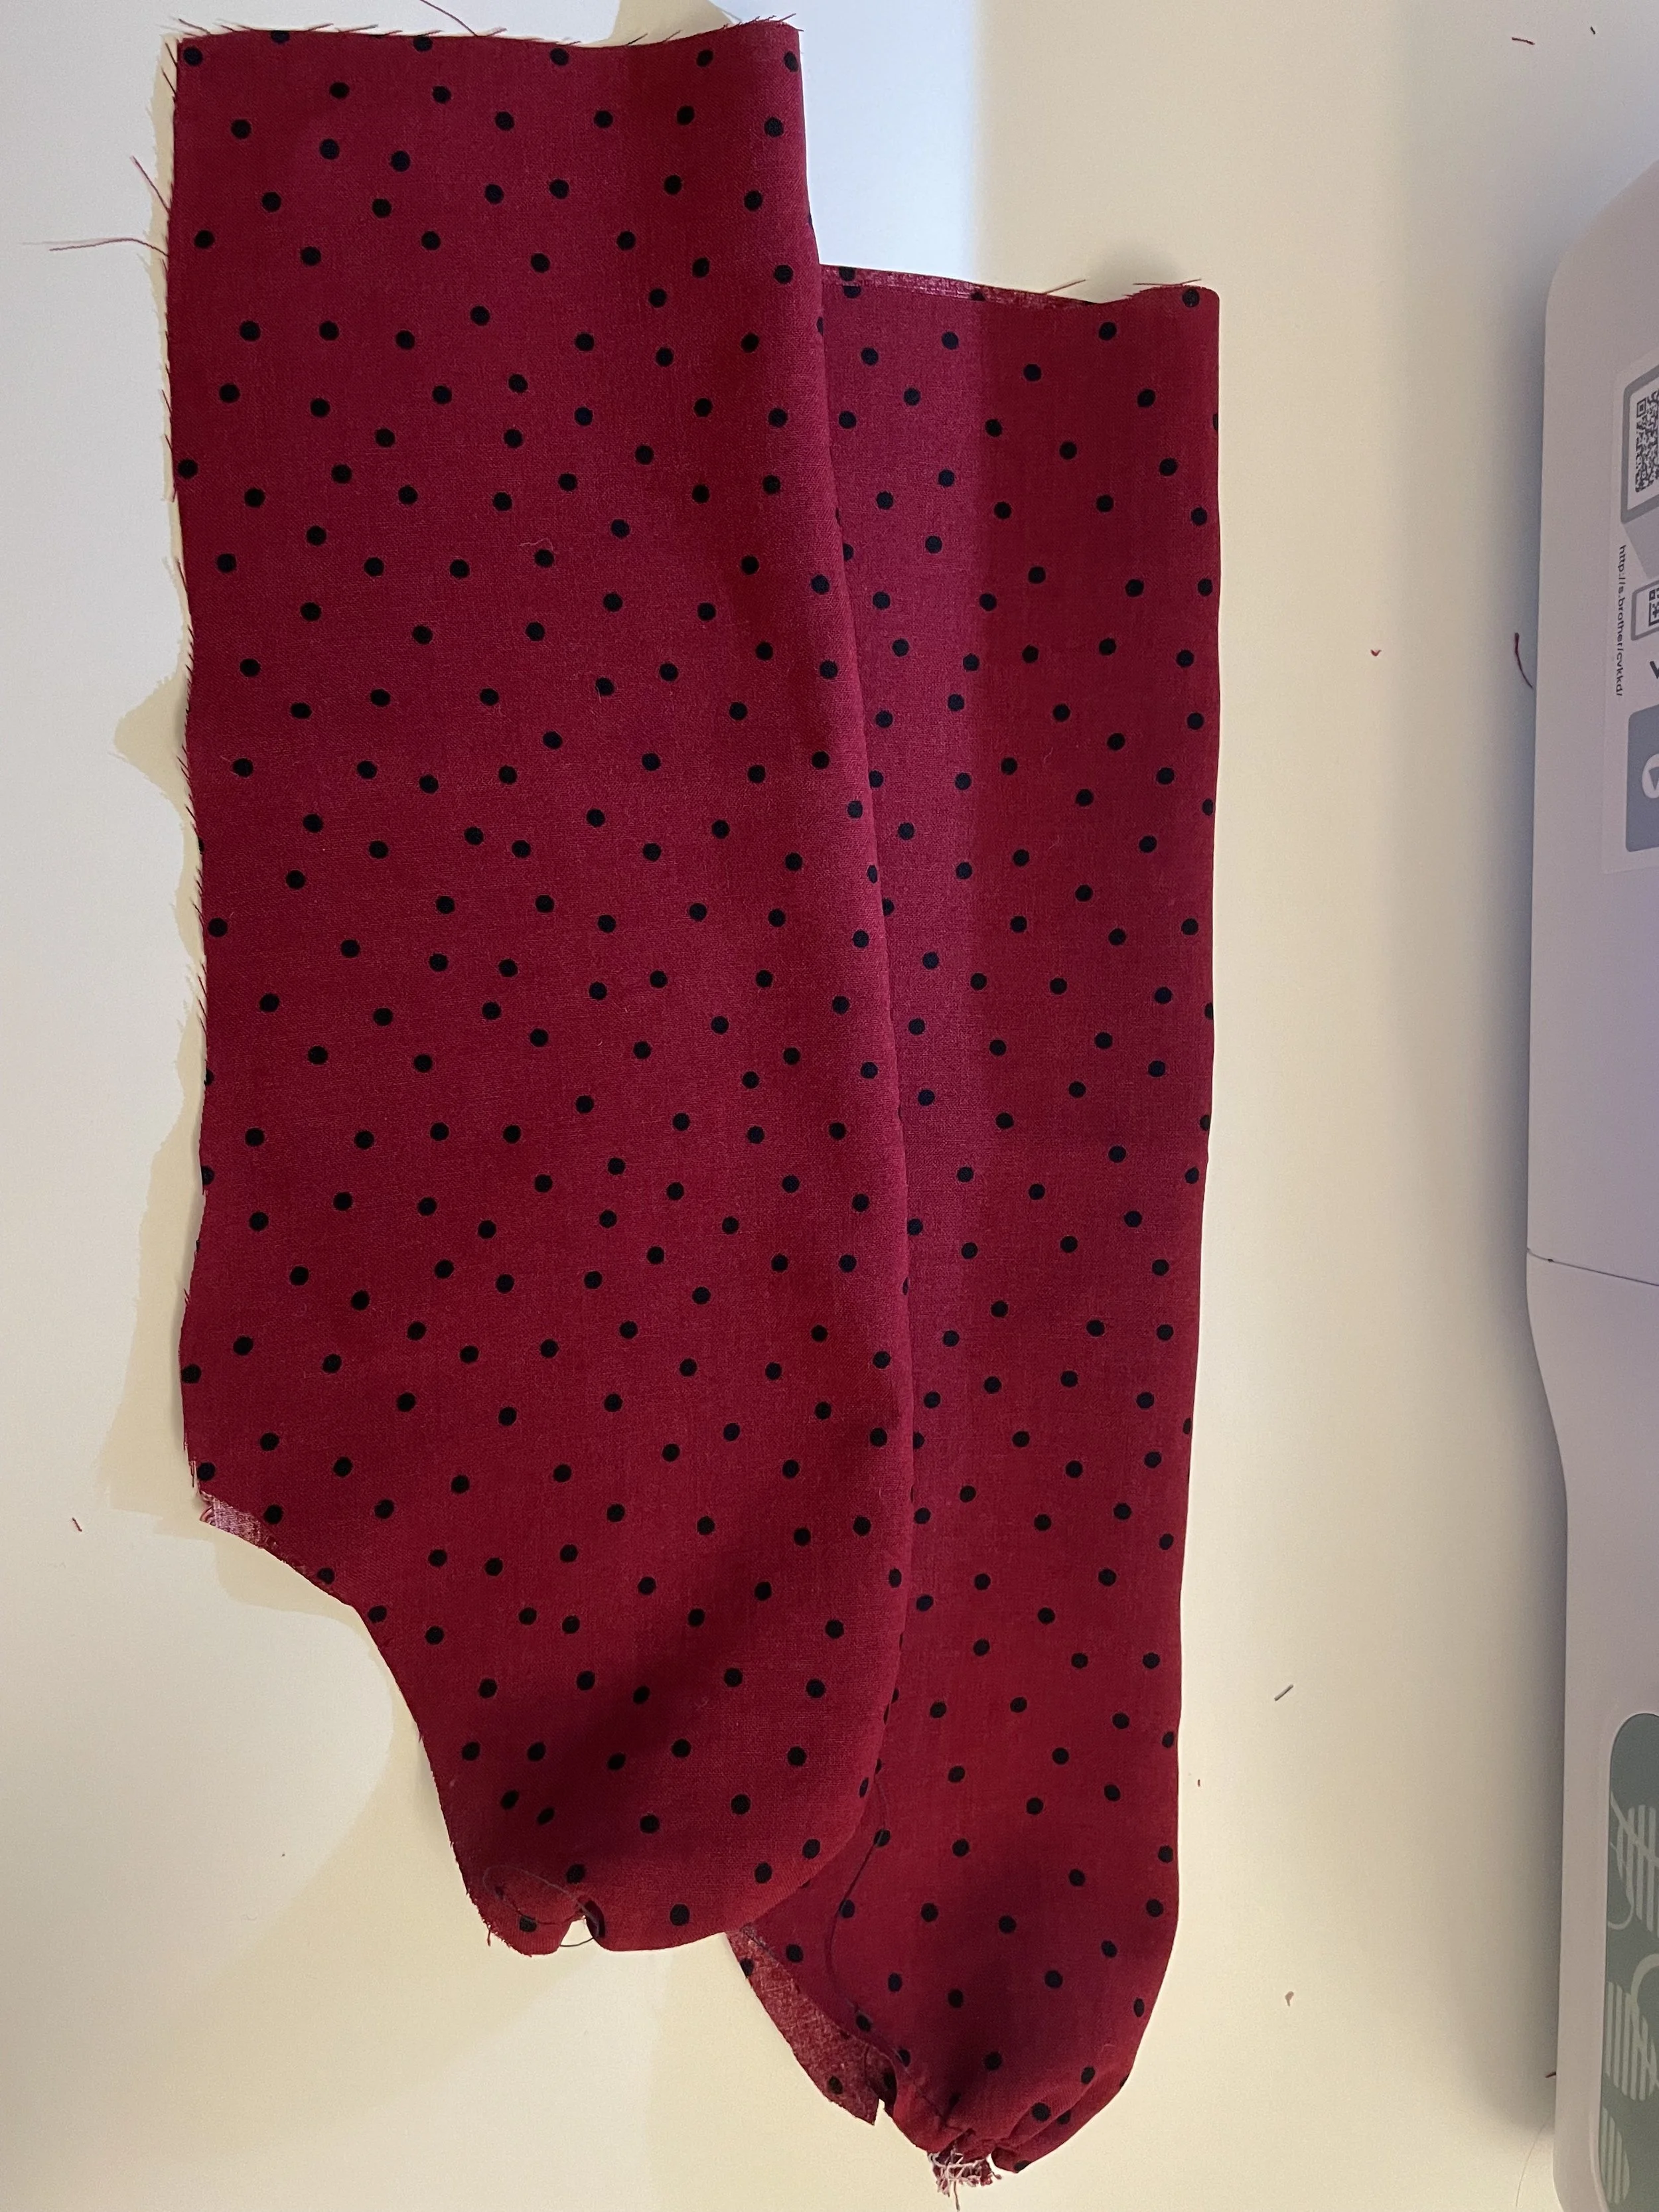
Moving on to the sleeves! I started by gathering the top of the sleeves with gathering stitches.
The gathered sleeves, ready to be attached to the bodice.
Pulling the gathering stitches, I fit the sleeves to the bodice part and sewed. After finishing the seam on my serger, I put the sleeves and bodice sides right sides together and sewed from the end of the sleeve all the way to the bottom of the bodice.
On the back pieces, I serged the CB on both pieces and then folded it 1 cm towards the wrong side. I then took the right back piece and placed it over the left, overlapping 1 cm at the bottom, and sewed in the seam allowance.
The dress is really beginning to look like I wanted it to! Now it’s time to attach the skirt to the bodice
Next, I divided both the circle skirt waist and the bottom of the bodice into four sections. Matching up the sections of the skirt and bodice allowed me to properly attach the skirt without having too much fabric in one place.
Since I measured the bodice part and made my circle skirt based on this measurement, the skirt fit perfectly on the bodice without any pucks or gathers.
Finishing touches now!
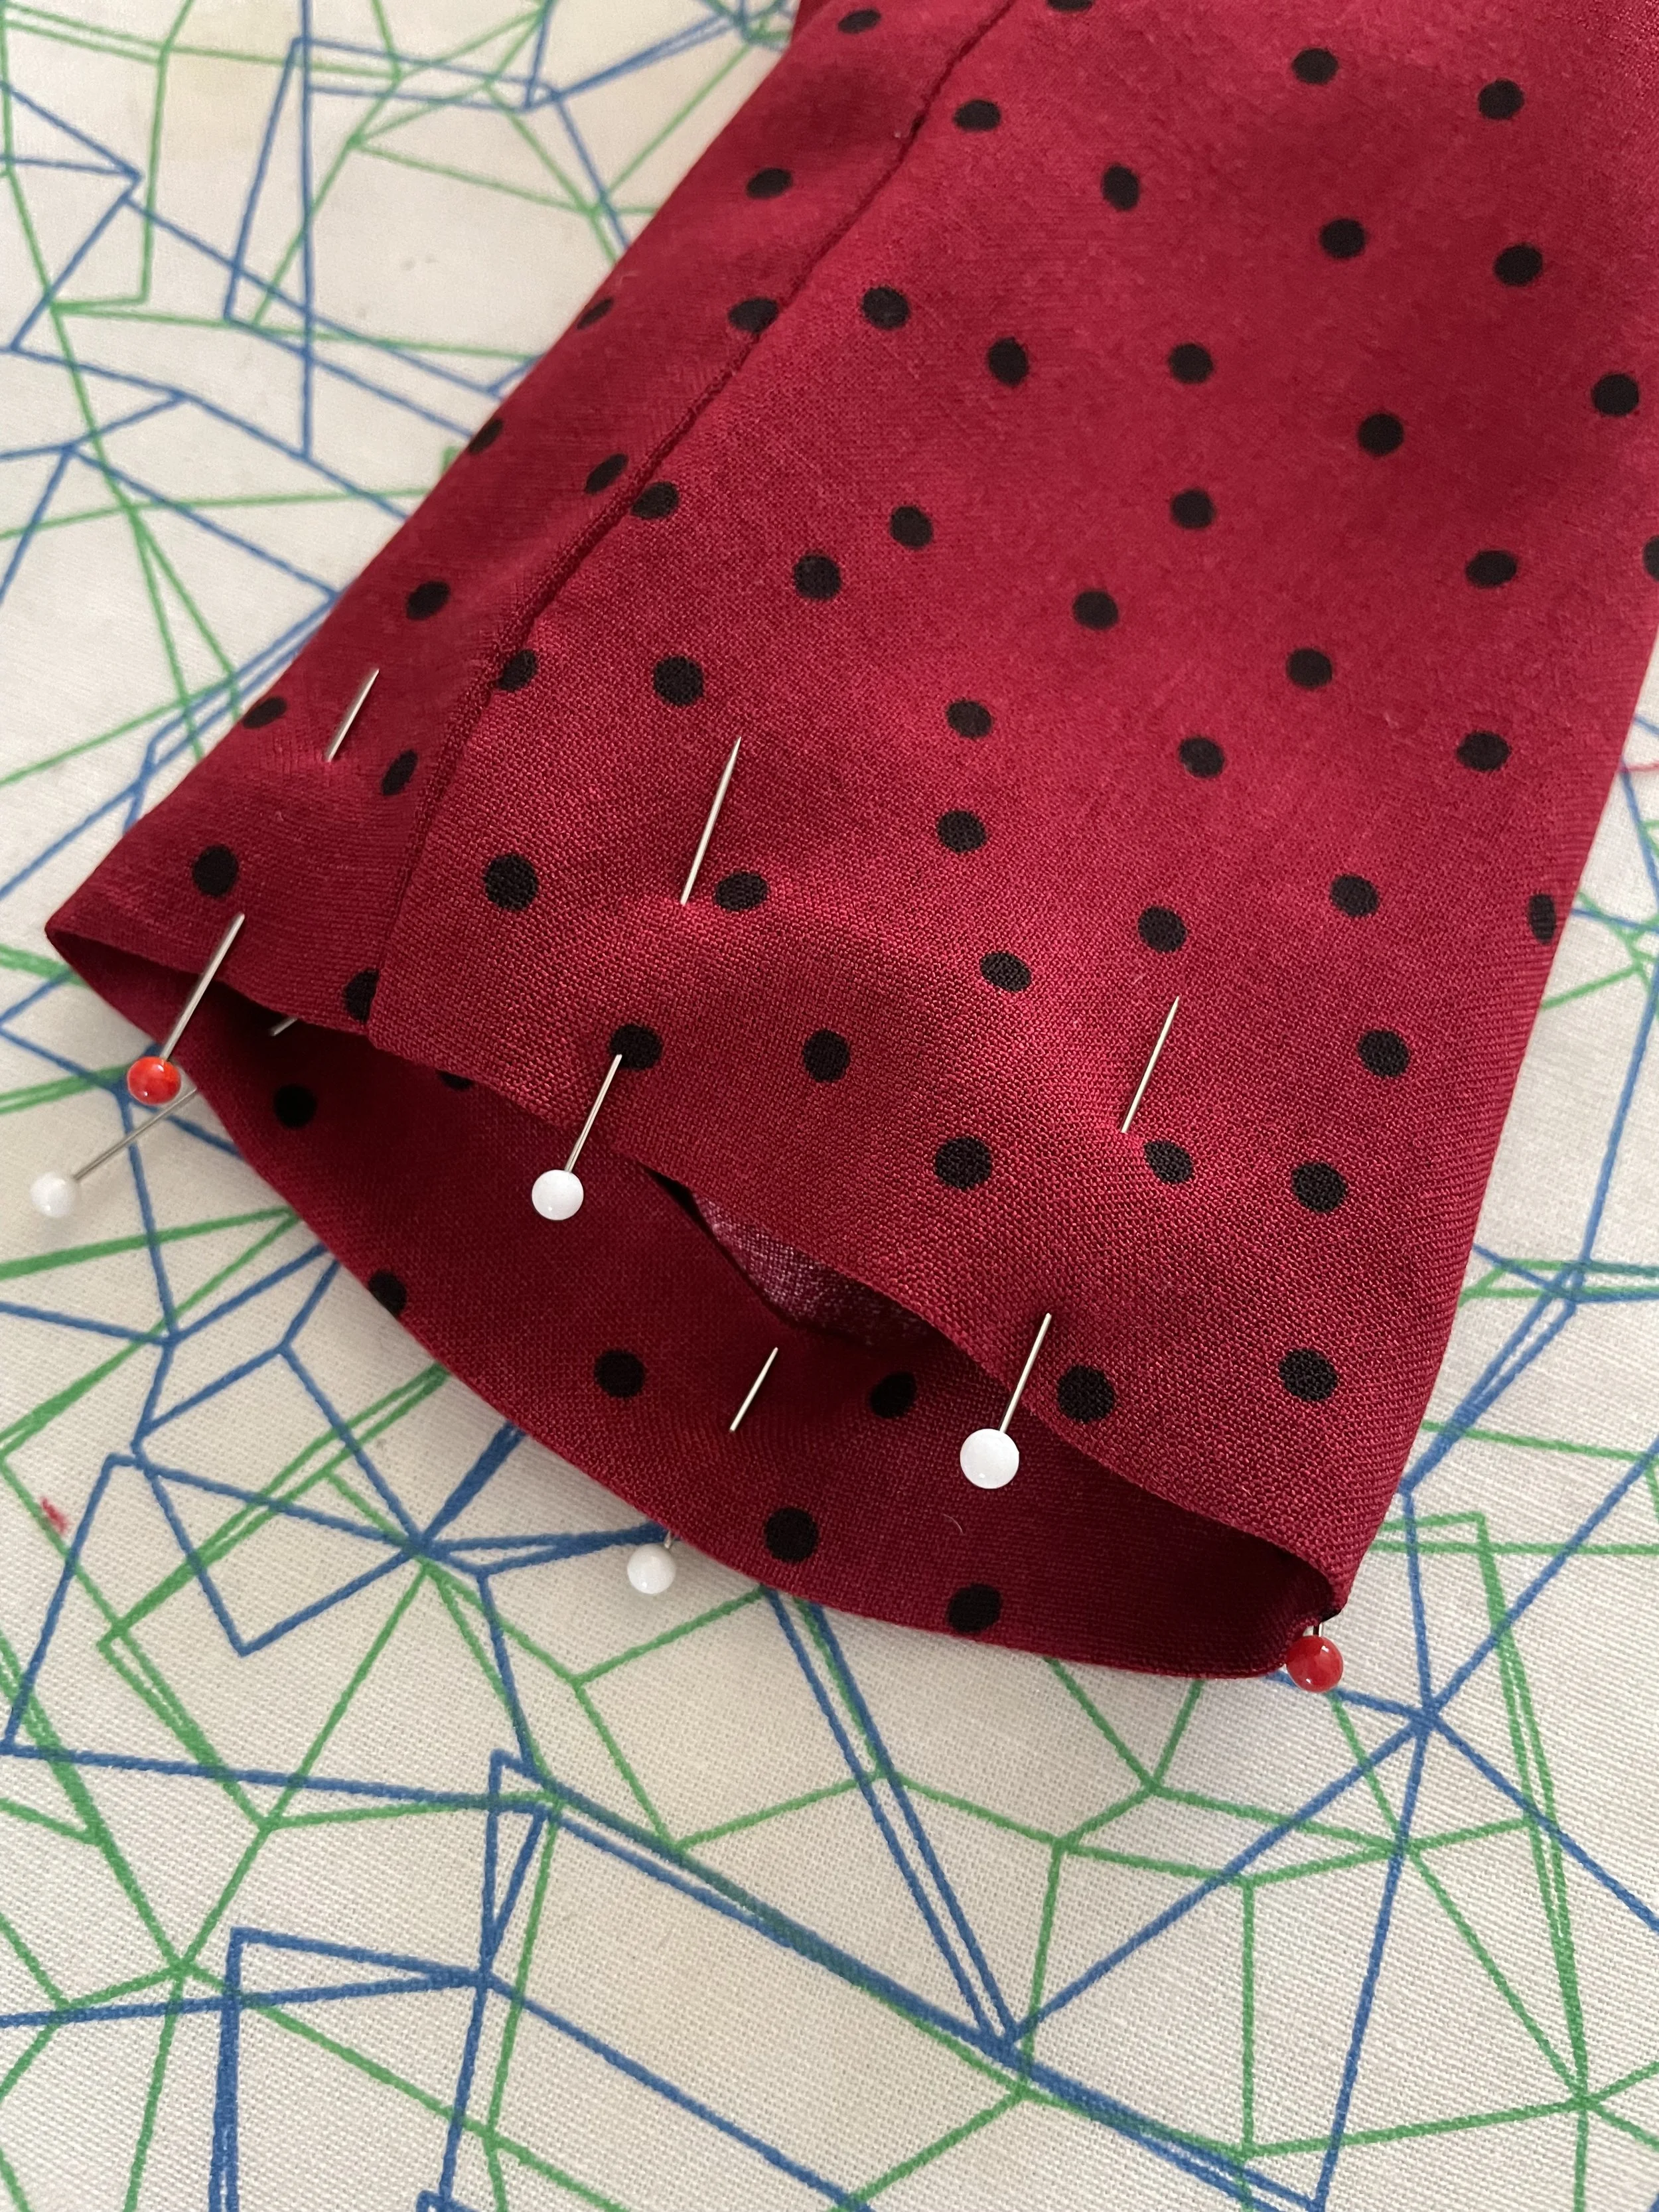
I pressed the end of the sleeves in 5 mm and then again 1,5 cm to create an opening for the elastic. I sewed around the sleeve, leaving a 1 cm opening to pull the elastic through.
Getting the sleeve ready for the elastic
After finishing the sleeves, it was time to hem the skirt.
I did this by folding 5mm towards the wrong side, pressing, and then folding another 5mm. Then I stitched close to the edge all around the skirt (this step actually took a while, since the circumference of the hem of the skirt is really long!)
Now all that’s left is to hand sew the hook and eye in place on the back pieces at the collar. And that’s it! When my daughter saw the finished dress, she yelled “my Cirkeline dress!” and honestly, that’s all I was hoping for <3
My girl mid-twirl! This is the perfect dress for my dress loving 3 year old.


